Seed Potato Fact Sheet

Potato Varieties
Our seed potatoes come in quantities of 5lb, 10lb, and 50lb - Selection may vary by store.
- Superior: improved Cobbler type, white skinned potato. Medium sized, good yielder and better keeper than earlier varieties. Maturity in 100 days.
- Yukon: best all-purpose eating potato grown today. Skin is yellow. Meat is buttery golden yellow. Outstanding flavor. Good winter keeper. Maturity in 100 days.
- Kennebec: oval white skinned tuber with excellent eating quality. By far our best selling potato. Maturity in 120 days.
- Red Norland: most favored red skinned potato in the garden. Very productive. Great flavor. Maturity in 90 days.
- All Blue: this unique variety has blue flesh streaked with white. When cooked they turn a soft purple-blue and have a fluffy texture and a nutty flavor. Maturity in 100 days.
Soil Preparation
Potatoes need a rich, loose, slightly acid soil. Use plenty of organic matter and add 5-10-10 or a similar low-nitrogen fertilizer, about 10 pounds per 100 feet of row, or as instructed on the fertilizer label. The recommended soil pH for potatoes is 4.8 to 5.4. If the soil is not acidic enough, scab disease, which causes brown corky tissue on the potato surface, may be a problem. Lime the soil for potatoes only if a soil test shows a pH below 4.8.
How to Plant
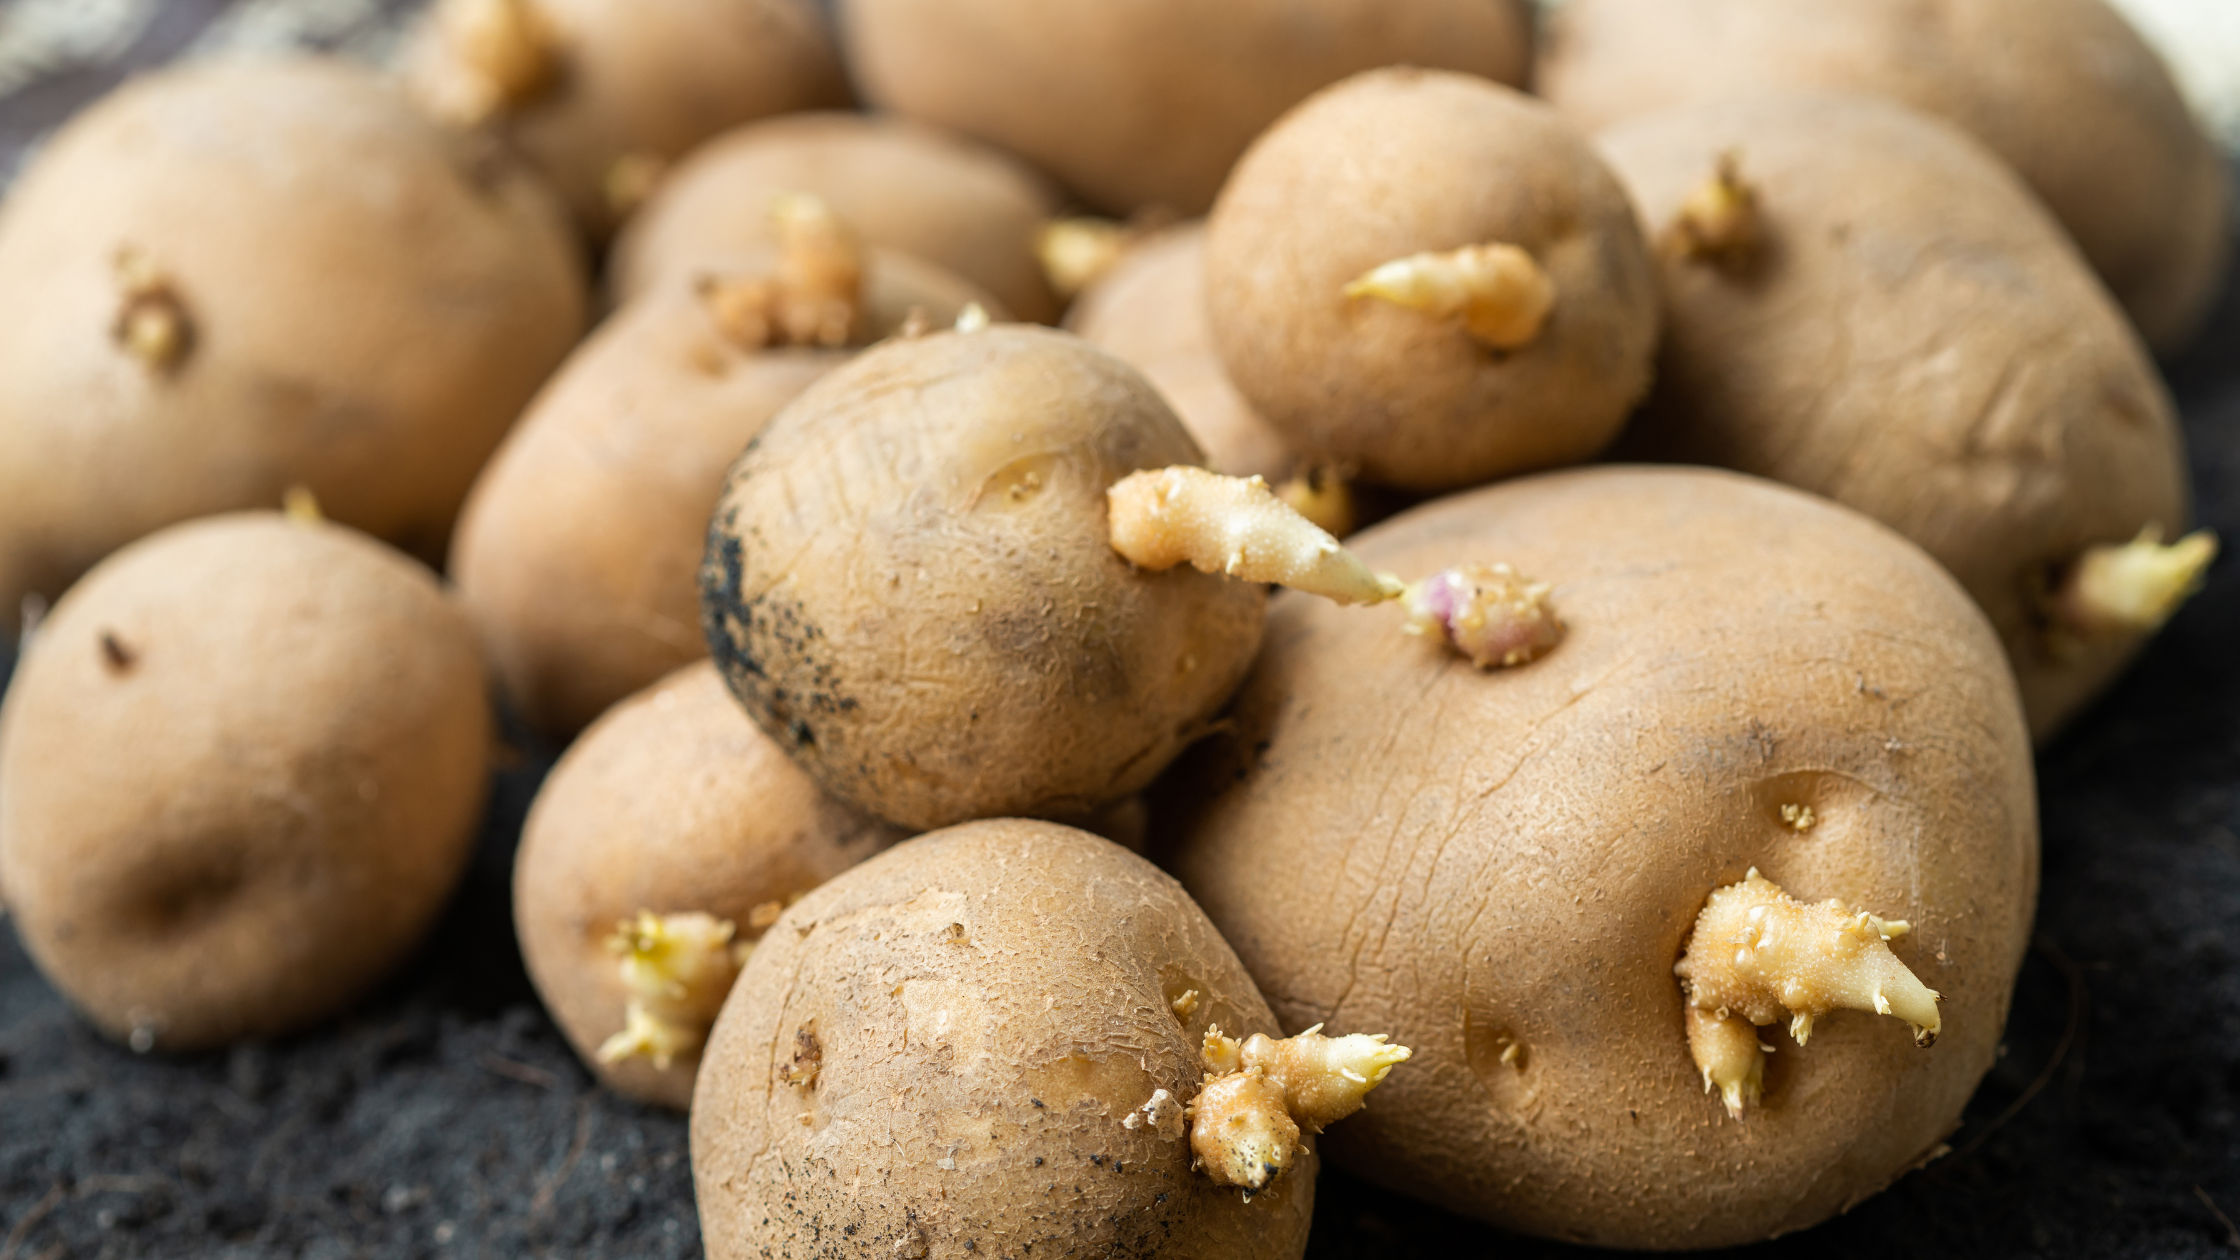
Although there are a few varieties of potatoes than can be grown from true seed, they are usually grown from seed potatoes, a small piece of potato with at least one growing eye, which will sprout into a new plant. Buy certified disease-free seed potatoes. This is important because potatoes can host many plant diseases that reduce growth and harvest but are otherwise undetectable in most gardens. It only makes sense to try to avoid bringing infected potatoes into your garden. Cut them about 1 1/2 inch squares or larger, the larger seed potatoes tend to have increased integrity, a week before planting to allow cut surfaces to heal slightly, remember to make sure that each has at least one good eye. Some growers dip cut pieces into a diluted bleach solution or commercial fungicide to prevent rot. You can also plant small potatoes whole and avoid the risk of rot altogether.
Set the pieces, cut side down, eye up, about 4 inches deep and 12 inches apart in rows 2 to 3 feet apart. (Ten to twelve pounds of potatoes will plant 100 feet of row and yield 1 to 2 bushels at harvest). Potatoes form not on the roots, but on the stems rising from the seed that are above the roots. Sprouts usually appear after 2 to 3 weeks, unless they were 1/4 inch or longer when planted or under less than 2 inches of soil. If the plants have been spaced correctly, the foliage will shade and cool the soil as the tubers mature, preventing high temperatures from damaging them. To further cool the soil, mulch 6 inches deep with a loose organic material.
When plants are 5 to 6 inches high, hill up the mulch and soil around the growing stems. Potatoes exposed to light turn green, an effect associated with the naturally occurring poison solanine. (Small amounts of green tissue can be scraped away, but excessively green potatoes should be discarded).
Fertilize and Water
To fertilize when planting, place seed pieces in the center of a 6-inch wide trench and work the fertilizer in at the edges with a cultivator. Do not let the fertilizer touch the seed pieces. Too much nitrogen fertilizer may cause excessive leaf growth at the expense of the tubers. Fertilize, but not too much, follow products instructions. Potatoes need a steady moisture supply. If the soil dries out after the tubers begin to form, growth stops. It starts again as the soil is watered. The result of this stop-and start growth is misshapen, knobby, split, or hollow tubers. Try to keep the soil moist to a 1-foot depth through the growing season, soaker hoses are great for this as they can water thoroughly without leaving a muddy mess.
Harvesting
Pick new potatoes as soon as the tops flower. New potatoes are not a variety but are simply any potatoes harvested before maturity. They are smaller and tenderer but will not store. If the soil is loose, simply reach in; otherwise, gently uproot the plant to check its progress. Harvest some potatoes from each plant for new potatoes and leave the rest for harvest when the potatoes are completely mature. Potatoes headed for winter storage need to mature fully in the soil. For full-sized tubers, wait until the vines yellow or die back. To avoid bruising the potatoes, loosen the soil with a rake or a spading fork first, and then dig the potatoes. Store them in the dark for a week or so at 70 degrees Fahrenheit to heal bruises and condition them. Then store them at between 35 and 40 degrees Fahrenheit, keeping the humidity high.
Beginner Mistakes
You can try growing plants from grocery store potatoes, but they frequently carry diseases and may have been treated to prevent sprouting.
