Dill
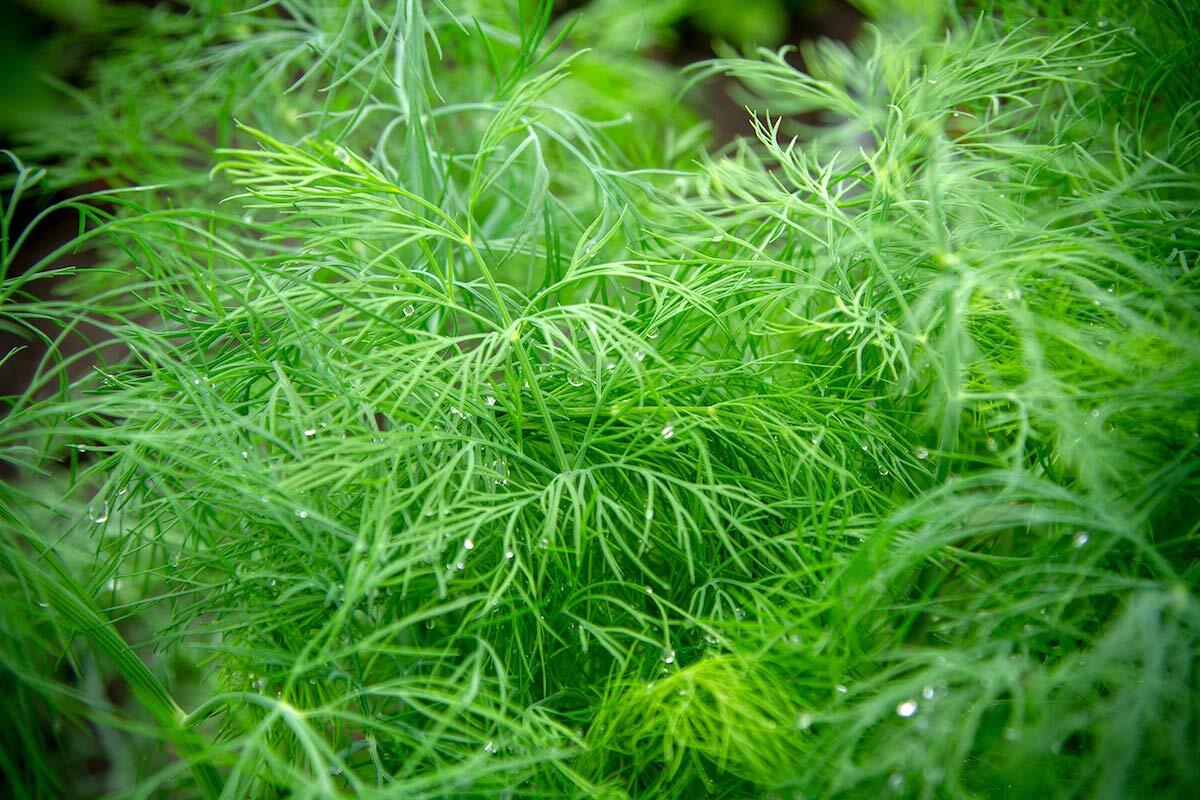
Dill (Anethum graveolens) is a member of the carrot family and has been treasured for centuries. Gardeners grow it for both its feathery, flavorful leaves and its aromatic seeds. Native to southern Europe, dill plays a starring role in Greek, Scandinavian and German cuisine.
Fresh or dried, dill leaves brighten salads, fish, soups and vegetable dishes. The seeds can be used whole or ground to add bold flavor to breads, cheeses and dressings. They’re especially useful in slow-cooked recipes because they hold their flavor well under heat. Of course, dill is most famous as a pickling herb for cucumbers, green beans, carrots and beets.
Dill is an annual, meaning it completes its life cycle in one season. However, it often self-sows, so new plants may appear the following year. It grows successfully in USDA Zones 3–10 across the United States and southern Canada.
Growing Dill
Dill is fast-growing and easy to care for. In ideal conditions, you can begin harvesting leaves in about eight weeks. To enjoy a steady supply all season, sow seeds every three weeks.
Choose a site with full sun. In very hot southern climates, light afternoon shade is helpful. Dill tolerates average soil but prefers sandy or loamy soil that drains well. It is a light feeder and usually does not require extra fertilizer if planted in reasonably fertile soil.
Planting from Seed
Sow seeds directly into the garden, planting them ¼ to ½ inch deep. You can mix the tiny seeds with dry sand to help distribute them evenly. Gently firm the soil and water lightly. Seedlings typically appear within 10–14 days.
Once seedlings are a few inches tall, thin them so plants are spaced 2–6 inches apart. Proper spacing improves airflow and encourages strong growth.
Transplanting Seedlings
If planting young seedlings, choose an overcast day or late afternoon to reduce transplant shock. Space plants:
- 8–10 inches apart for leaf harvest
- 10–12 inches apart for seed production
Be careful not to disturb dill’s long taproot when transplanting. Water immediately after planting and provide light shade for a day or two if needed. Most varieties mature and begin setting seed in about 60 days.
Caring for Dill
Dill prefers consistently moist soil, especially while young. Once established, water during dry periods, particularly if soil is sandy or unmulched.
Add a 2–4 inch layer of mulch around plants once they reach about 6 inches tall. Mulch helps conserve moisture, reduce weeds and improve soil as it breaks down. Replenish mulch during the season as needed.
Whenever possible, use drip irrigation or water at soil level rather than overhead to keep foliage dry and healthy.
Growing Dill in Containers
Dill—especially dwarf varieties—grows beautifully in containers.
Choose a pot at least 10 inches deep to accommodate the plant’s taproot. Make sure it has drainage holes and fill it with a lightweight potting mix. A slow-release fertilizer mixed in at planting time or a monthly liquid feeding will keep container plants thriving.
Water regularly, as containers dry out quickly in summer heat. Since dill matures relatively fast, you may need to replant during the season for a continuous harvest.
Harvesting and Storing Dill
For the best flavor, harvest dill leaves just before the plant flowers. Clip stems in the early morning or late evening, cutting close to the main stem to encourage continued growth.
If you want dill seed, allow flowers to bloom and develop seed heads. Cut the seed heads 2–3 weeks after flowering begins, then hang them upside down in a paper bag to dry. Mature seeds will fall into the bag naturally.
Storing Dill
Fresh dill tastes best but can be stored several ways:
- Refrigerate: Place stems in a jar of water and loosely cover with a plastic bag.
- Dry: Hang bundles upside down in a dark, airy place. Store dried leaves in a sealed jar away from light.
- Freeze: Cut stems into sections and freeze in airtight bags. Avoid finely chopping before freezing, as this reduces flavor.
Dill as an Ornamental
Dill is as beautiful as it is useful. Its soft, fern-like foliage adds texture to beds and borders, while its bright yellow, umbrella-shaped flowers provide height and contrast.
It pairs well with other sun-loving plants and herbs and it looks lovely in containers near the kitchen. Dill flowers also attract beneficial insects such as bees and parasitic wasps, supporting a healthy garden ecosystem.
Whether grown for pickling, cooking or simply enjoying its delicate beauty, dill is a rewarding addition to any garden.