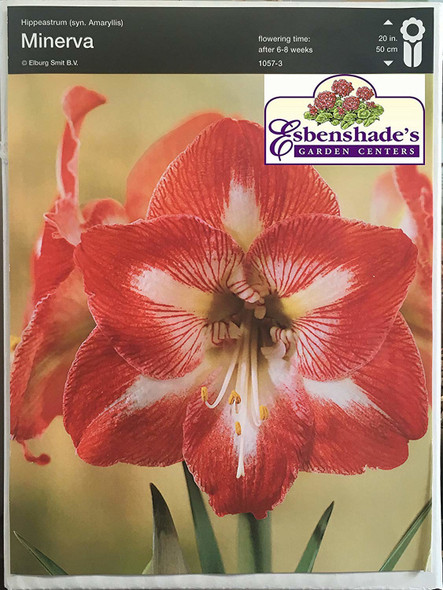
Description
Put two inches of planting mix in a pot. Set the Amaryllis bulb in the pot and spread out the roots. (Roots must remain undamaged). Gently pack potting mix between the roots and around the bulb, cover 2/3rds of the bulb in planting mix leaving top third of the bulb above the soil line. Place the pot in a sunny, warm location. Water once with luke warm water when you first pot up your Amaryllis bulb, then sparingly until you see the tip of the bud appear. Then water regularly (do not overwater) and you will soon be rewarded with spectacular blooms. ?If the bulb has already started growing plant as soon as possible and the bulb will straighten itself out. When blooms fade, cut off the tubular flower stems near the top of the bulb, leaving the foliage to continue growing. Water as usual and apply a water-soluble fertilizer every four weeks. Once the danger of frost has passed place your amaryllis pot outdoors in your garden where it can enjoy the summer sun. Be sure to continue your fertilizer program every four weeks as this is necessary for the next round of indoor forcing. Bring your Amaryllis inside at the end of the summer and allow the bulb to completely dry out by storing it in a cool dry place. Now repot your Amaryllis in fresh potting soil and start the growing cycle all over again. ?Spread some pebble or marbles over the mix for a nice appearance. ?Keep from drafty doors and windows. ?Cut off spent stalks, additional stalks will appear as others fade. ?Amaryllis are tropical bubls and prefer temperatures around 70F (20C) ?All plants grow toward the light, turning the pot regularly will ensure straight stems. ?Plant bulbs in two week intervals for a constant parade of color during the winter months
View AllClose


