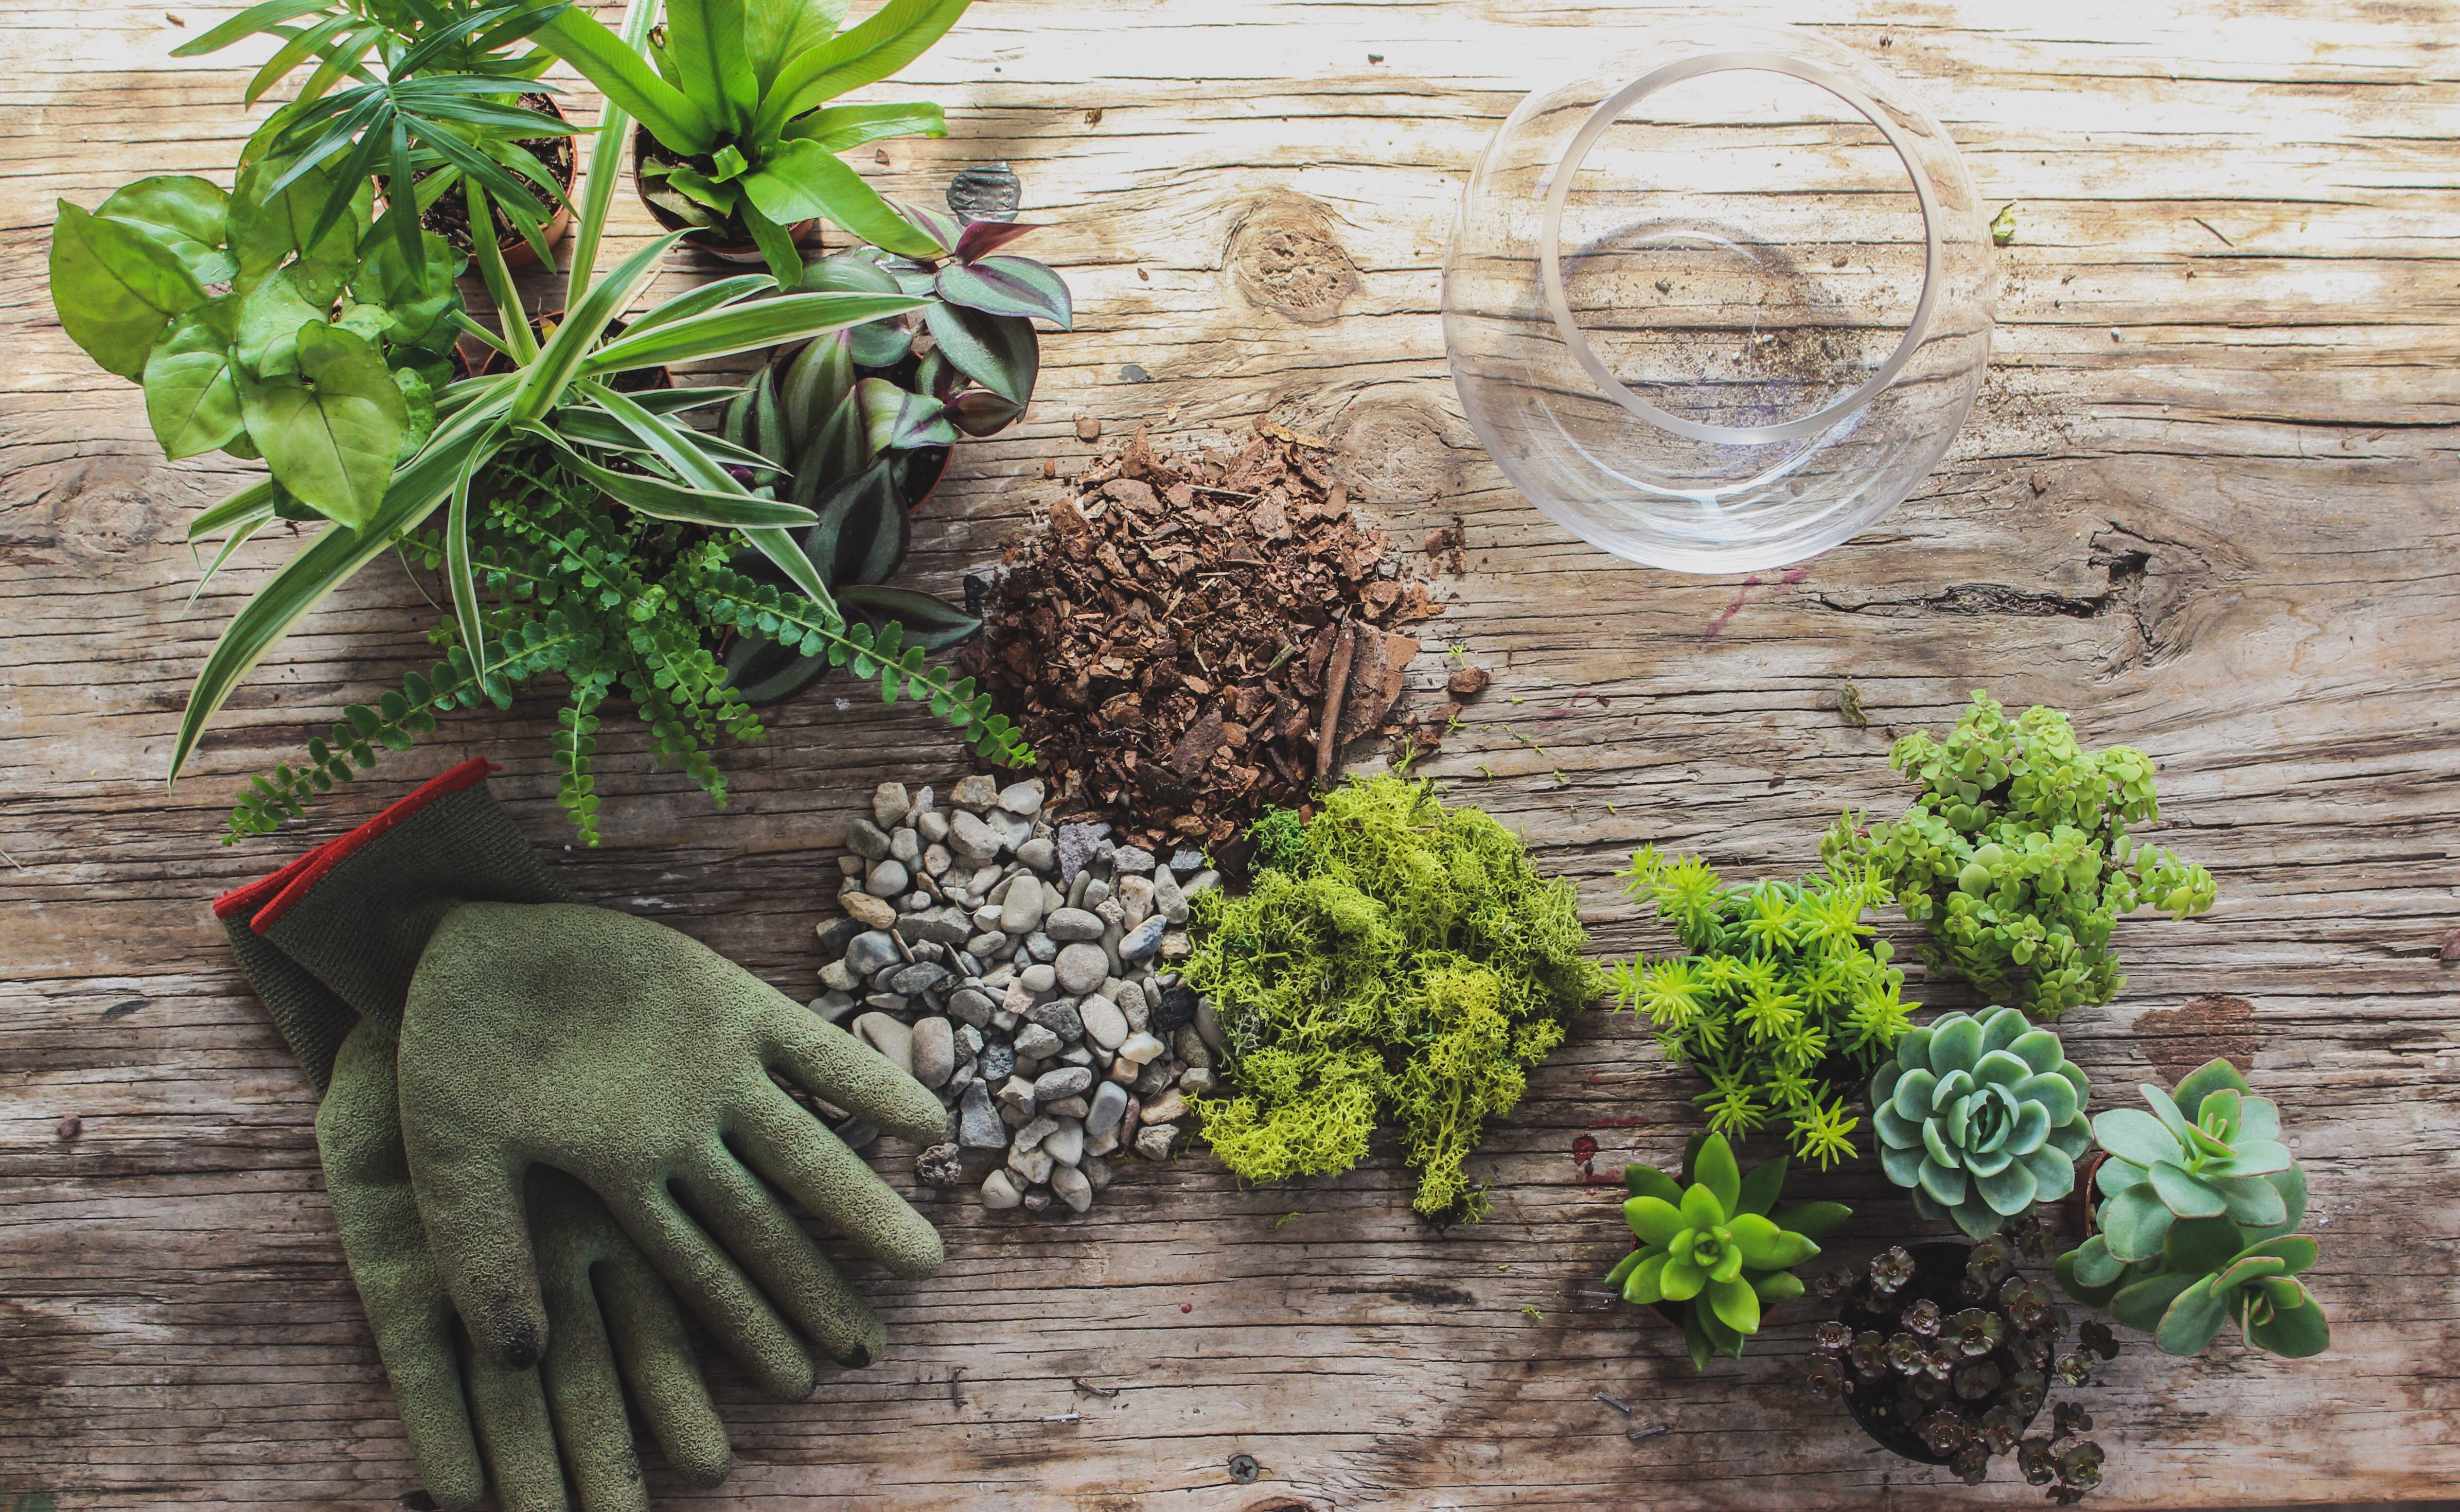
Terrarium Gardens


Things You Will Need:
• Container
• Small Gravel (approx. 1/2” or smaller)
• Planting Media (potting soil or coco coir)
• Tiny Plants
• Decor or Miniatures
• Soil Covering (decorative stone, Spanish moss, pine bark mulch or pine bark mini nuggets)
Step 1: Prepare Container
Selecting a container for your terrarium is the first step in creating your garden. Choose from a wide variety of containers such as: glass bottles, jars, aquariums, fish bowls or any other clear container. Larger containers are easier to work with if you are a beginner. Closed containers hold more humidity and create a tropical atmosphere. Open containers are ideal for cactus and succulent gardens, as well as other plants that prefer less humidity. Clear, smooth glass offers the best view of the plants. Start with 1-2 inches of small gravel in the bottom of the container, followed by potting soil or coco coir. If your terrarium has a lid, start with a thin layer of horticultural charcoal. This prevents the terrarium from becoming stagnant.
Step 2: Plant the Landscape
Deciding on a theme for your terrarium will help you in selecting the type of plants you will need. A few theme ideas are desert, woodland, fairy and tropical. Choose plants that are small and compact. Make sure that the plants you choose require similar lighting, temperature and humidity. Select plants that have a variety of textures, sizes and colors. Once you’ve made your plant selections, you can begin planning the layout of your terrarium. Before removing each plant from its plastic container, try arranging them within the larger container to decide what layout will best work for your miniature garden. Be sure to consider the placement of any furniture and decor within your design. After you've made the final decisions on placement, remove each plant from its plastic container. If the plant is pot bound, (meaning that it has many roots growing right to the edges of the container) use your fingers to gently loosen the compacted roots and then place the plant within the soil. Make sure the top of the root ball is level with the top of the soil.
Step 3: Add Decor and Miniatures
Adorn your terrarium with natural miniatures such as stones & twigs or create a tiny landscape in the style of a fairy garden. Get creative and gather foraged materials from outdoors or find miniature decor and treasures in our store design departments.
Step 4: Cover and Moisten the Soil
After you’ve added your finishing touches, apply a soil covering and moisten the soil. Covering the soil will keep it from drying out too quickly and create a more esthetically pleasing look. You can use small decorative stones, Spanish moss, pine bark mulch or pine park mini nuggets. Make sure you do not over water. You do not want the soil to become saturated. Use a small watering can down the inside surface of the container, so as not to disturb the plants.
Step 5: Care
Once your terrarium is complete, find the proper place to show it within your home or office. They should be kept out of long exposure to direct sunlight, as this can overheat the container and injure the plants. Terrariums containing flowering plants will need a bit more sunlight and can be placed in eastern windows. They can also be placed anywhere though out your home and light can be supplemented with either florescent or incandescent bulbs.
Water your terrarium sparingly. Always check the moisture levels within the soil before watering. This can be done with a moisture meter or simply feeling the soil. Plants such as succulents and terrarium with desert themes will require less watering. Tropical or woodland plants will require a little more. If your terrarium is uncovered, water will evaporate more quickly and need watering more often. Terrariums with lids will recycle water by producing condensation and the droplets will drip back into the soil, resulting in the need to water slightly less.
