Vermicomposting
Vermicomposting: Turn Kitchen Scraps into Nutrient-Rich Soil
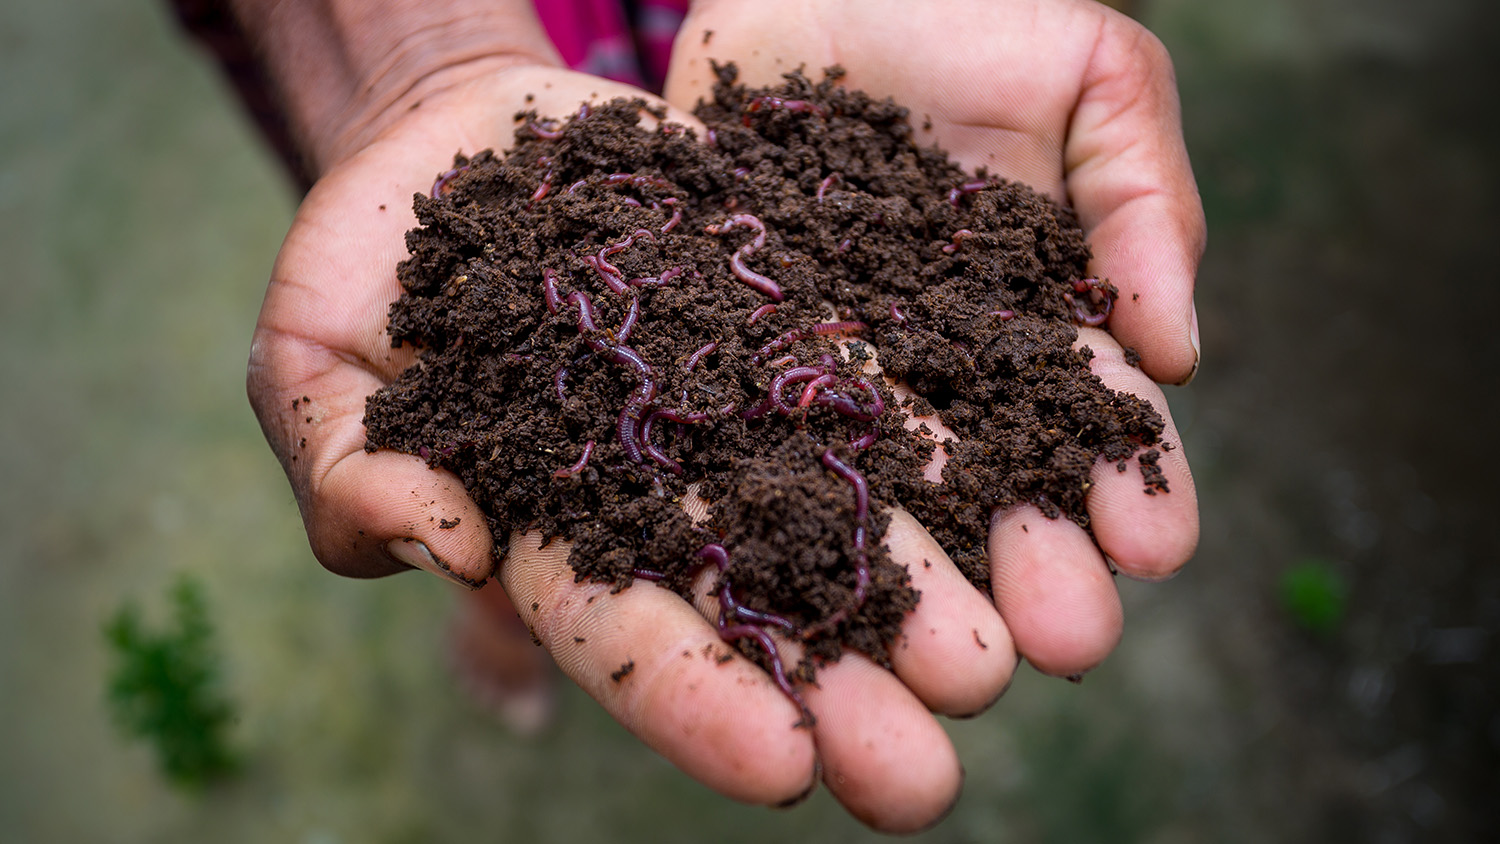
Vermicomposting, or worm composting, is an eco-friendly way to turn kitchen scraps and organic matter into nutrient-rich fertilizer and soil conditioner.
Also called worm compost, vermicast, worm castings or worm humus, the process is driven by special composting worms that break down organic material, creating a natural, high-quality soil amendment.
The Worms
The stars of vermicomposting are typically Red Wigglers (Lumbricus rubellus) or Brandling Worms (Eisenia foetida). These worms are adapted to composting conditions rather than typical garden soil and can be purchased from mail-order suppliers or bait shops.
While other organisms like insects, mold and bacteria also play a role, worms are the primary catalysts for turning organic matter into valuable compost.
Setting Up a Vermicomposting Bin
When starting your vermicomposting system:
- Fill the bin with moist bedding to mimic a forest floor, which is high in carbon and safe for worms.
- Add your worms. In hot climates, place the bin in a shaded area to avoid midday sun.
- Begin feeding worms small amounts of kitchen scraps, roughly half their body weight per day. As they establish themselves, you can feed up to their full body weight. Only add new food once previous scraps have been processed.
Bedding Basics
Bedding is crucial, it’s both a living medium and a food source. Bedding should be moist (like a wrung-out sponge) and loose to allow proper aeration. Safe bedding options include:
- Newspaper (non-glossy), phone books
- Sawdust, hay or burlap coffee sacks
- Peat moss, pre-composted manure, dried leaves
- Cardboard (avoid waxed or plastic-coated boxes)
Avoid glossy paper, junk mail or other materials that may contain toxins.
Temperature & Moisture
- Ideal temperatures: 55–70°F (12–21°C)
- Avoid temperatures below freezing or above 85°F (29°C)
- Maintain moisture, but not soggy conditions. Non-continuous bins can drain excess liquid; continuous-flow bins may require occasional water.
Feeding Your Worms
Worms prefer a balance of “green” kitchen scraps and “brown” bedding. This is the carbon-to-nitrogen ratio, ideally 2:1 (C:N).
- Greens: Fruit and vegetable scraps (avoid pesticide-sprayed items)
- Browns: Shredded newspaper, dried leaves, cardboard
- Avoid meat, dairy or oily foods to reduce pests and odors.
Two feeding methods are common:
- Top feeding: Place food on top of the bedding and cover it with a layer of bedding.
- Pocket feeding: Bury food under the bedding in different locations each time.
Burying scraps at least 1 inch under bedding helps prevent fruit flies and other pests.
Common Problems
- Odor: Usually caused by too many greens. Add carbon-rich materials like paper or leaves to neutralize ammonia.
- Pests: Rodents, flies and ants can be attracted to exposed food. Using sealed bins and proper burial of scraps minimizes issues.
- Overfeeding or improper materials: Avoid heavily spiced foods, meat and fats that can harm worms.
Types of Vermicomposting Bins
1. Non-Continuous Bin: A single container with bedding on the bottom and food layered on top. Harvesting requires emptying the bin.
2. Continuous Vertical Flow Bin: Stacked trays allow worms to migrate upward. The bottom tray can be harvested when mostly worm-free, making it easier to collect compost.
3. Continuous Horizontal Flow Bin: Trays are placed side by side. One half is filled at a time and worms migrate toward food in the other half, simplifying harvest while keeping the system small enough for indoor use.
Benefits of Vermicomposting
- Produces rich, natural fertilizer and soil conditioner
- Reduces kitchen waste
- Supports healthy soil ecosystems
- Can be done indoors or outdoors, even in small spaces
Starting a vermicomposting system is a fun, hands-on way to turn everyday organic scraps into a valuable resource for your garden. With proper bedding, temperature, moisture and feeding, your worms will thrive and reward you with nutrient-rich castings for plants, vegetables and flowers.